Five of us recently walked the entire 223km Larapinta Trail route west to east, including a highly recommended side trip. We took these notes along the way.
Why west to east? To all of us it felt more significant to finish in Alice Springs. That and it was less hassle not having to coordinate with a transport company*. A lot of ink has been spilled about walking east to west so the sun isn’t in your eyes. It wasn’t in ours either!
We chose to do the walk in a very relaxed 17-day timeframe. This allowed for:
- rest days if we needed them
- a side trip to Mt Giles
- late starts or mid afternoon finishes (we were often able to choose the best spots at each campsite)
The itinerary was planned our intrepid walk leader Trevor, and it couldn’t have been improved.
Day 1 | Redbank to Mount Sonder Lookout & Return 15km
This is a ’there and back again’ climb from basecamp at Redbank gorge. We chose to do it in daytime but most other walkers get up at 2am and walk in the dark in order to see the famous sunrise. They all said it was worth the effort.
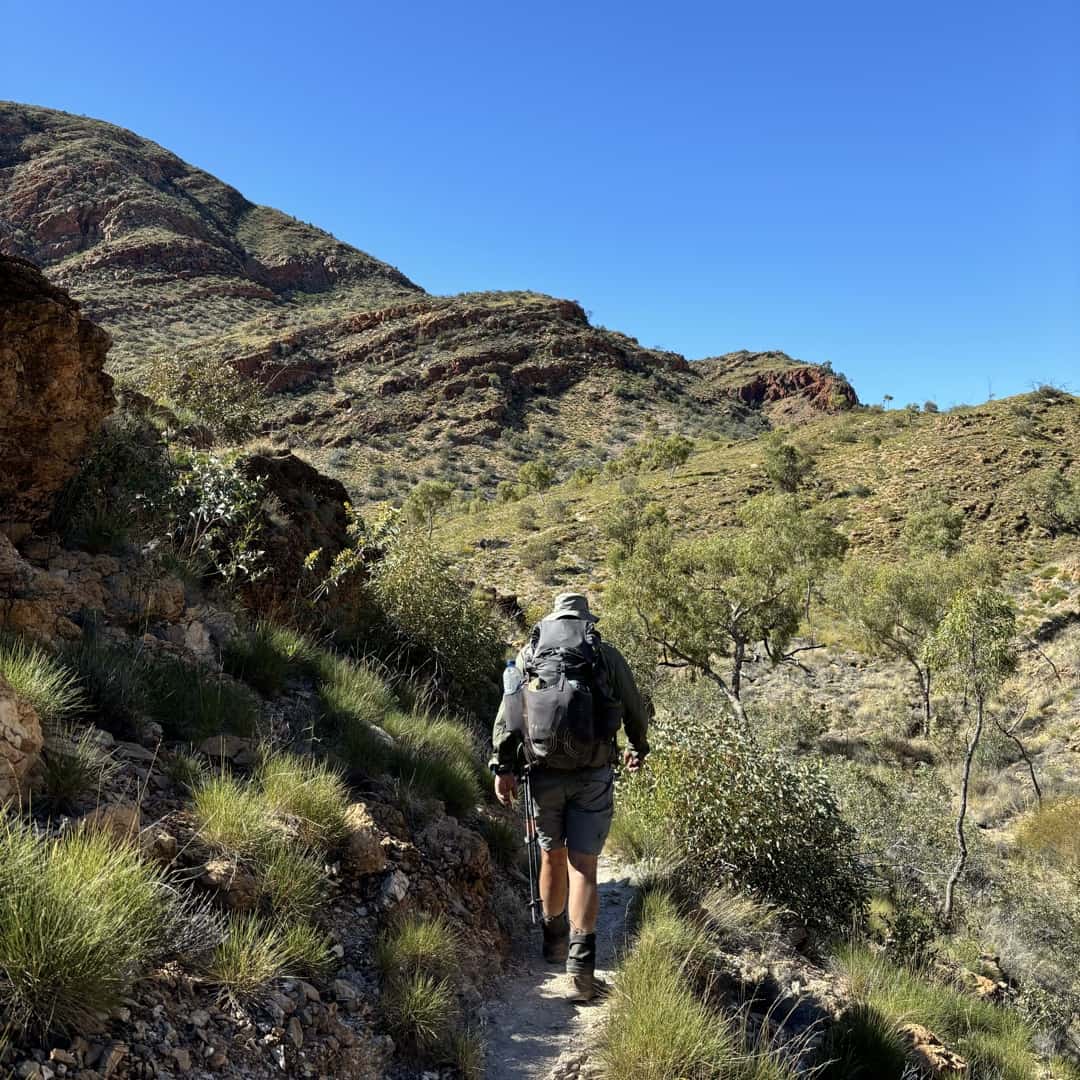
Like most of the rest, track conditions here are good with much evidence of past work in clearing, levelling, and inserting steps where needed.
Day 2 | Redbank to Hilltop Lookout 16km
This starts as a pleasant day of undulating trails at the foot of the ranges. After about 11 km you reach Rocky Bar campsite where there are toilets and a water tank. From there the trail takes a turn through a gap in the range and makes a short but steep 300m climb to Hilltop campsite.
This place is famous for its sunrise view of Mount Sonder. As with all the hilltop sites, be mindful of how windy they can get and the need to cart enough water. There are around 15 dispersed campsites across the top of the hill. Thanks to the amateur dry stone walling of the many previous campers, these sites are often surrounded by a c-shaped knee-high wall protecting them from the prevailing wind.
It’s a lovely site conducive to pleasantly wandering among the campsites chatting with their inhabitants. Sunset was magnificent.
Day 3 | Hilltop Lookout to Ormiston Gorge 19km
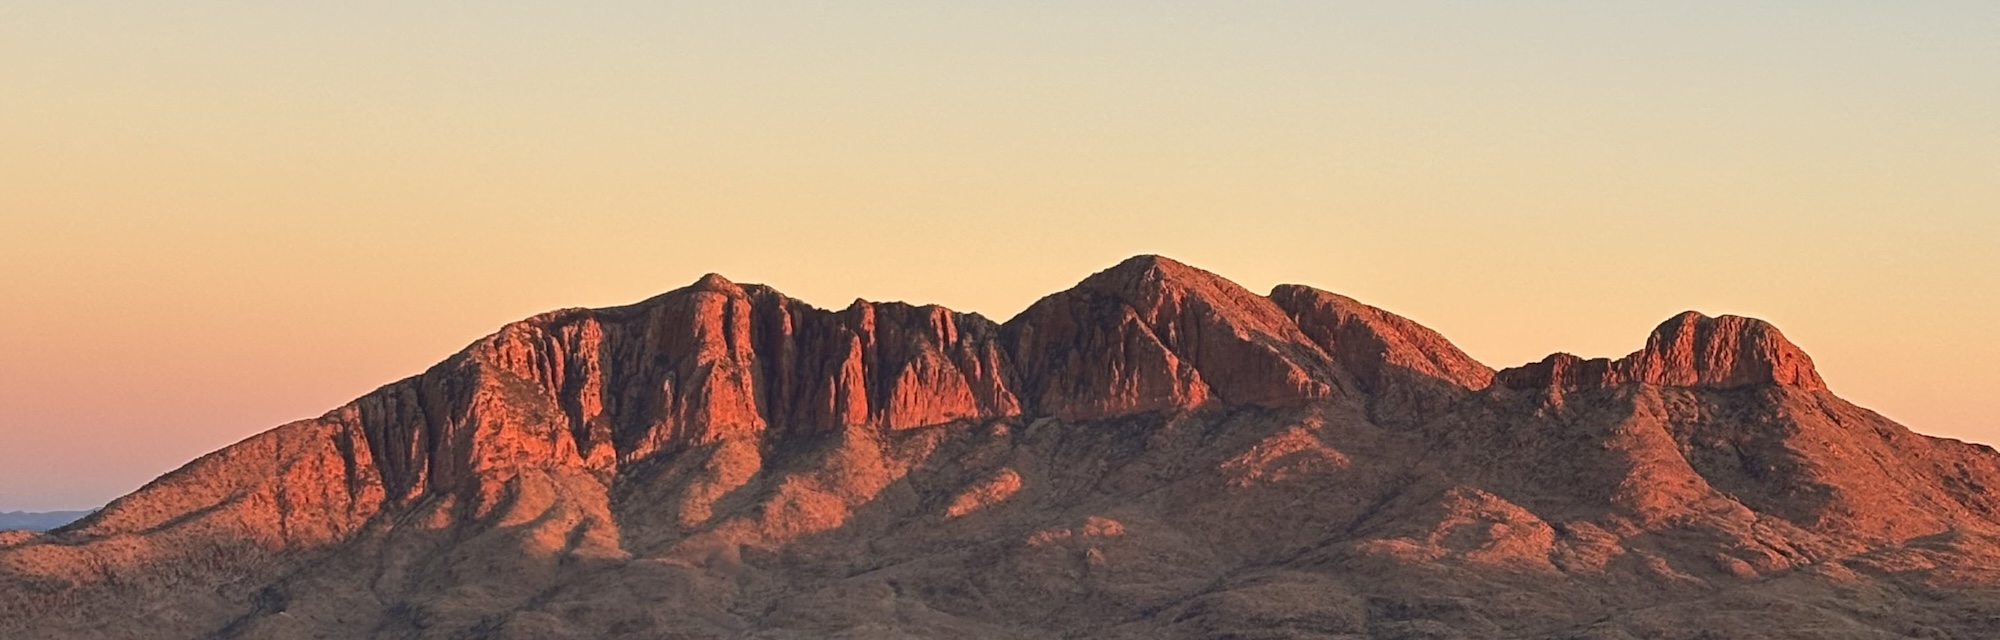
The dawn on Mount Sonder is the spectacle of the morning. If you’ve chosen your spot wisely, it’s made ever better by being able to sit in your tent with coffee and breakfast as the light show unfolds. The view on a fine morning is shown at the top.
Undulating trails lead to the Finke River campsite after 10km. Note to future walkers: the trail seems to have a malicious sense of humour directing you across the middle of a lagoon but a short walk to the south leads you across a dry sandy bar.
The day ends with the many joys of Ormiston Gorge; not just the stunning views on the loop walks but the hot showers. Also the kiosk which is open 10-4; highlights include the berry smoothie and focaccia. The best water pressure is at the caravan camping area, not the walker’s hut near the amphitheatre. There are 240V power outlets in the amphitheatre for charging.
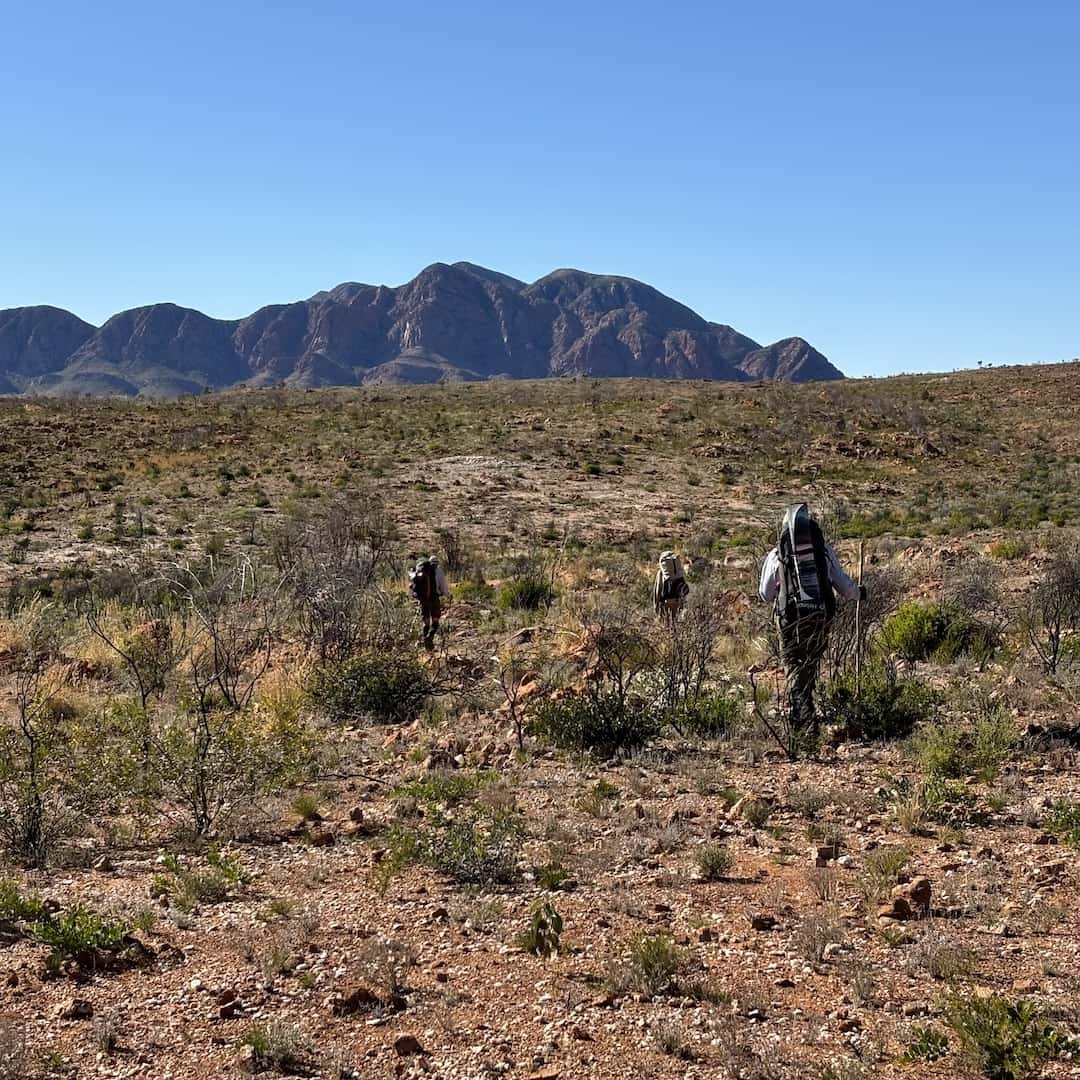
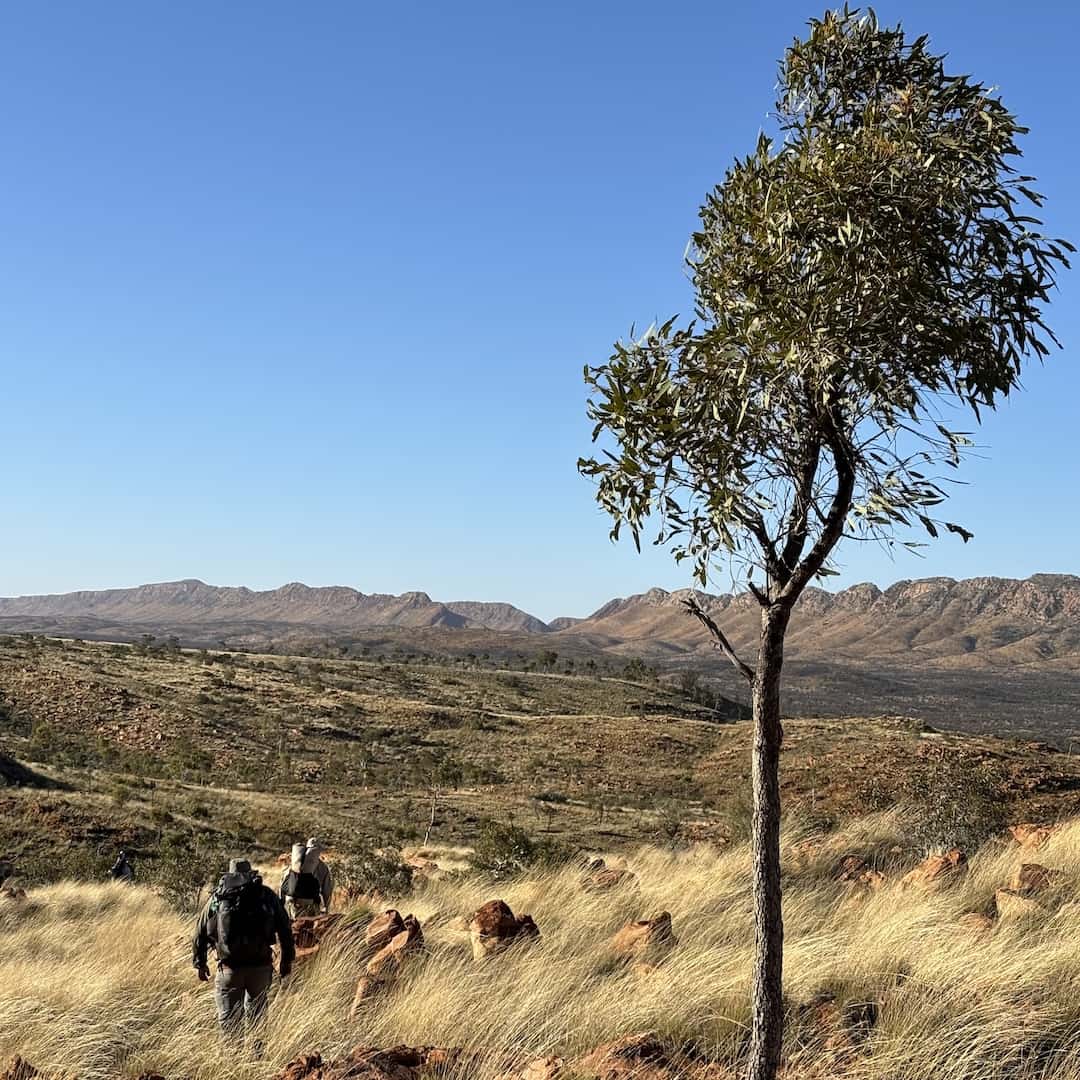
Day 4 | Ormiston Gorge to base of Mount Giles 15km
The 29km section from Ormiston to Serpentine Gap has a reputation for being tough. That’s due to a lack of water points, so the trail notes recommend carrying 5 litres!
But not for us. Here we headed off trail towards Mount Giles. Starting with the Pound loop walk, we branched off across dry plains and rocky gullies. Allow extra time for off-trail kilometres as you pick your route over uneven terrain.
Lunch for us was spent beside a beautiful pool in the Ormiston Creek at Mount Giles Walk Campground 1 as per this useful guide https://nt.gov.au/__data/assets/pdf_file/0010/200611/overnight-walks-ormiston.pdf
The rest of the day is short in kilometres but long in effort as you slog over ridges around the base of Mt Giles towards Mount Giles Walk Campground 2. But it is so worth it: a magical gorge filled with cycads that time forgot. Our water supply was the many rockpools up the gorge.
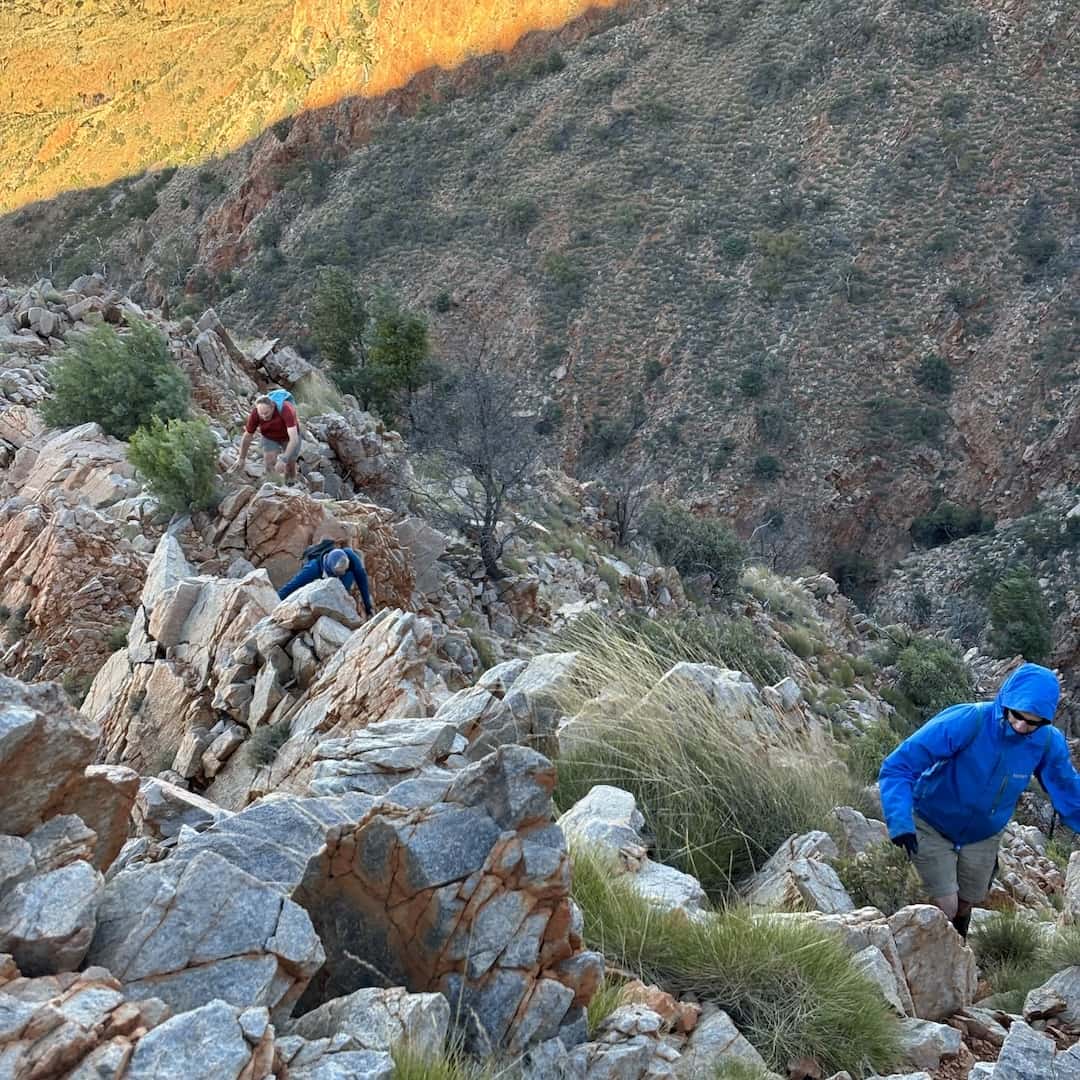
Day 5 | Mount Giles 3km
This day was set aside to climb Mount Giles, NT’s third highest … and then relax afterwards. The route we took is up the most logical ridgeline near camp. It’s a great climb; not too steep, lots of handholds and nowhere really sketchy. The views from the top are amazing.
The sensible people enjoyed the view from a sheltered campsite neatly situated in the lee of the summit. This could be a target for a long day from Ormiston Gorge. Our return was slow but uneventful and we were back by lunchtime.
Day 6 | Mount Giles to Serpentine Chalet 14km
Walking back across the Alice Valley was a simpler affair than the trip out through Ormiston Pound.
We chose a line aiming for a gap in the range, making our way through rocky gullies and over ridges. By lunch we we were back on the nicely groomed official route. From there it was only a bit more than an hour to the night’s camp. Arriving at 3pm, we were able to select our tent sites before a giant group of young hikers arrived.
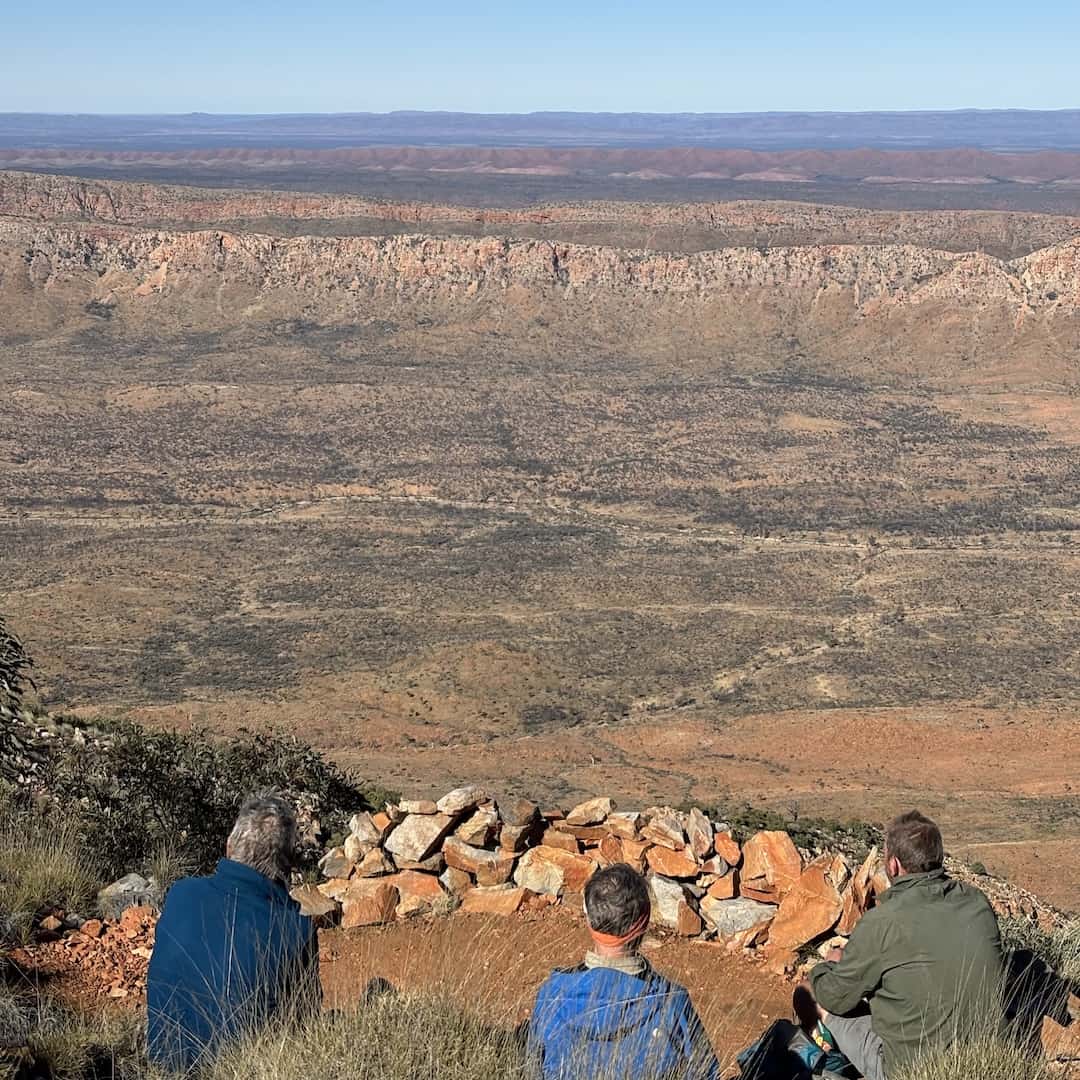
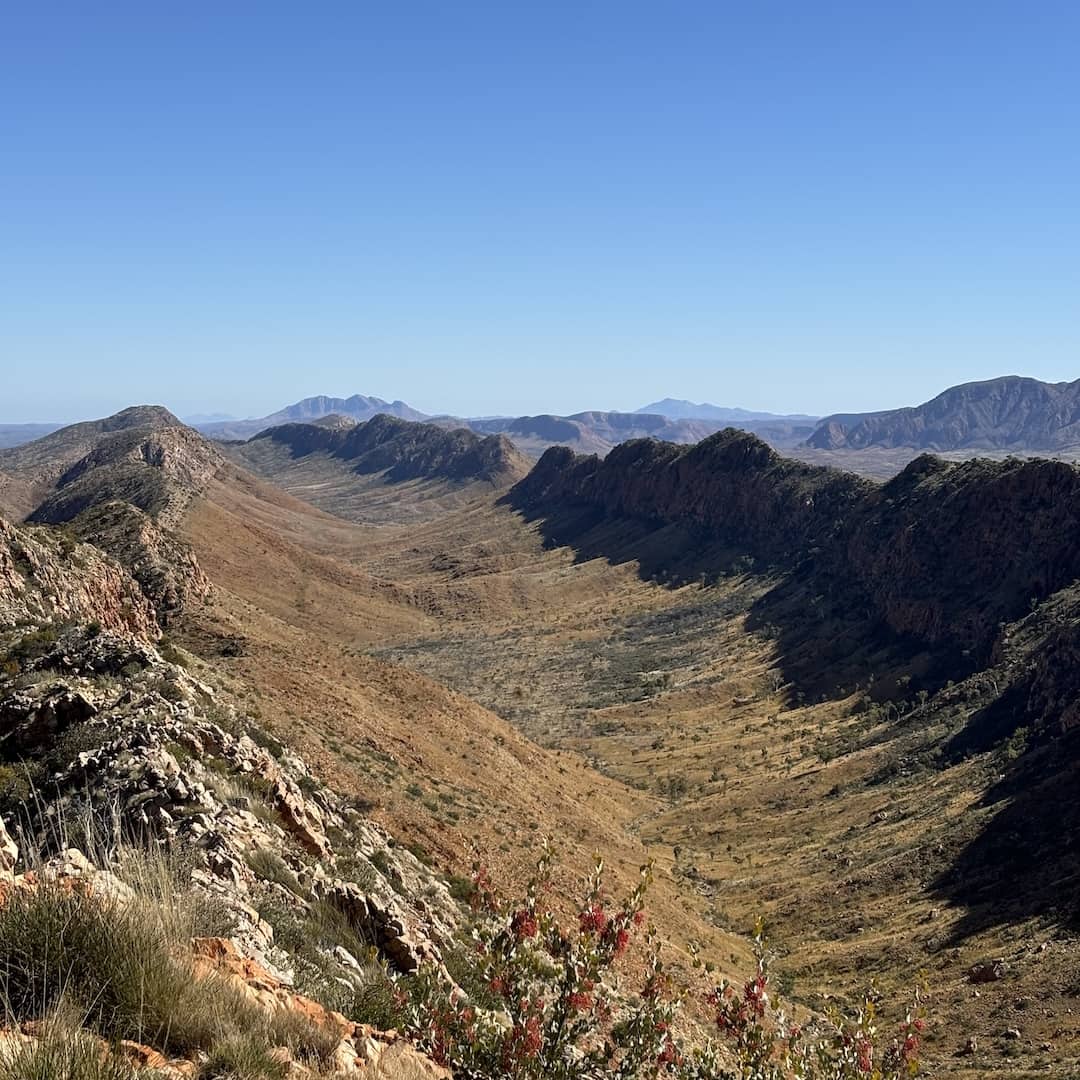
Day 7 | Serpentine Chalet to Serpentine Gorge 14km
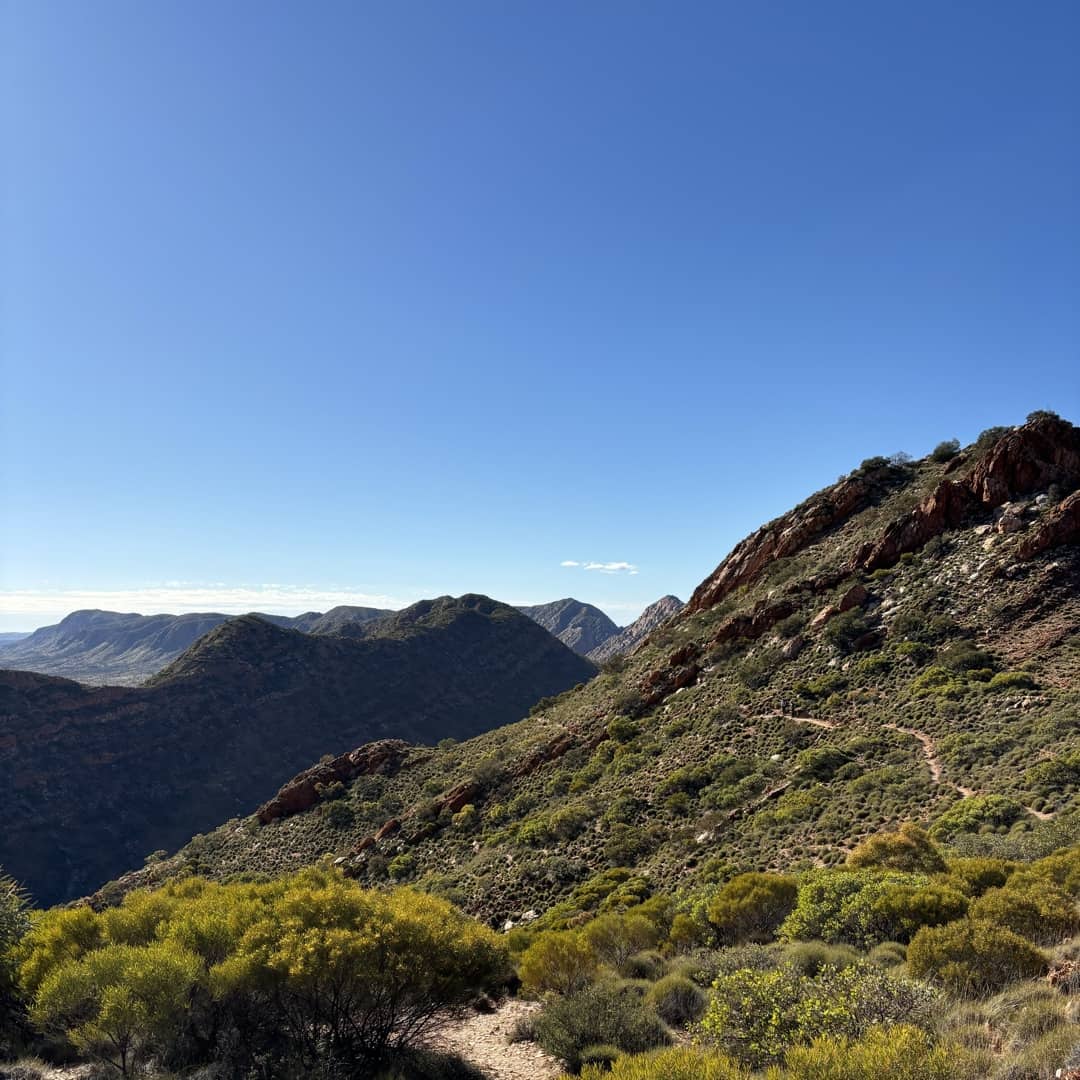
Shortly after starting you’ll be on a long climb to the ridgeline where the views are stupendous in all directions. Don’t miss the detour to Counts Point; the views from there are the iconic Larapinta Trail image. This is a popular place to camp for the sunrise but as sites are limited it’s a good idea to get there early.
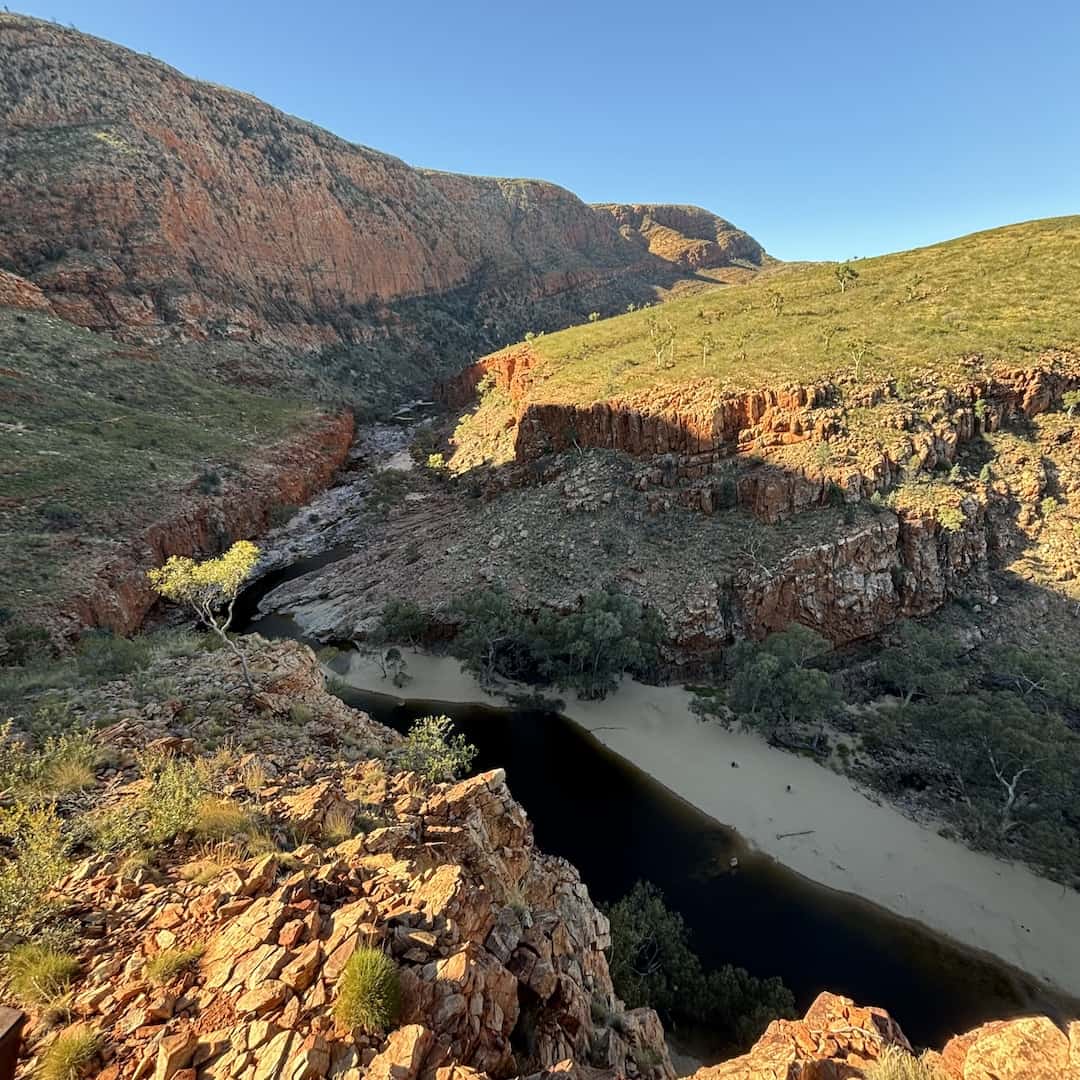
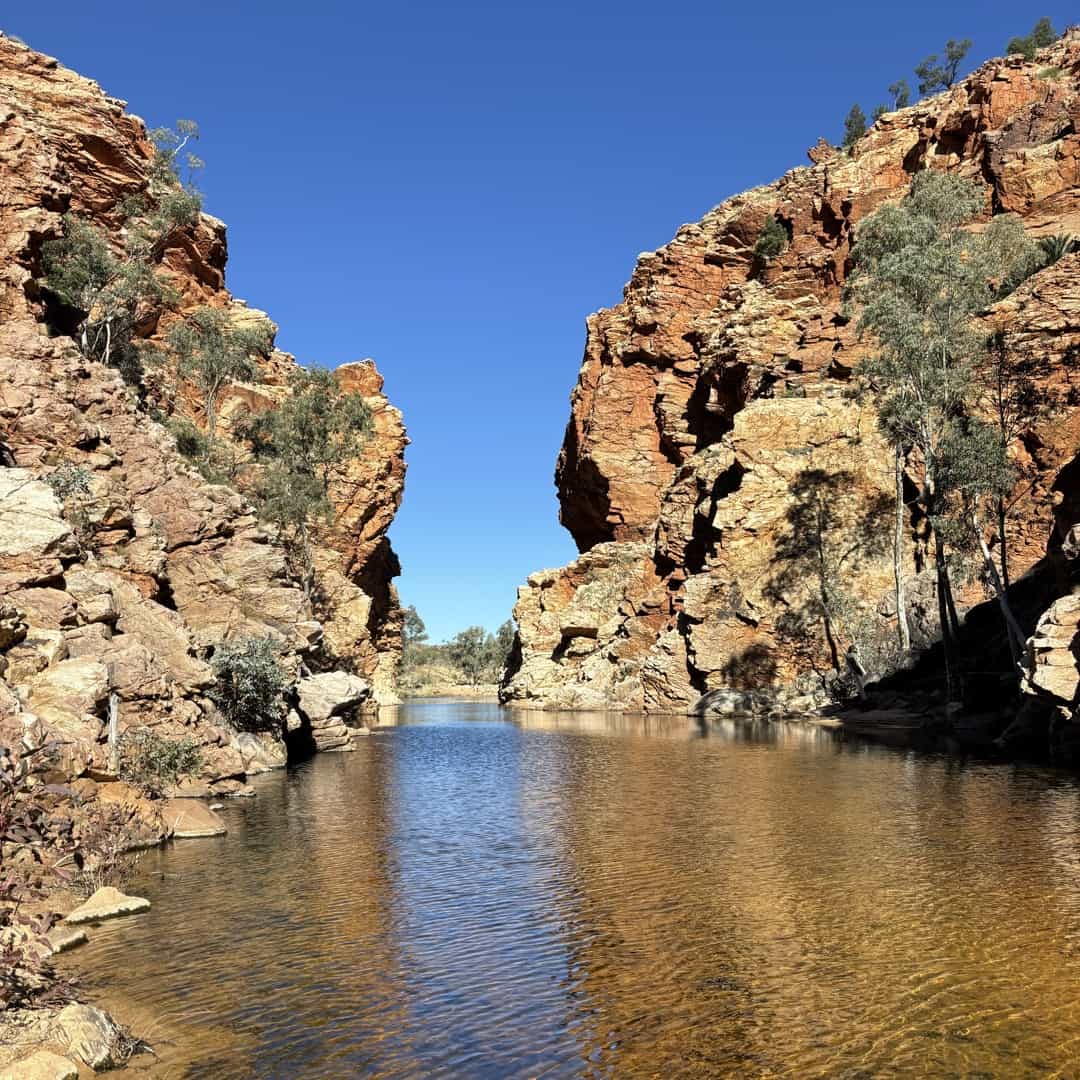
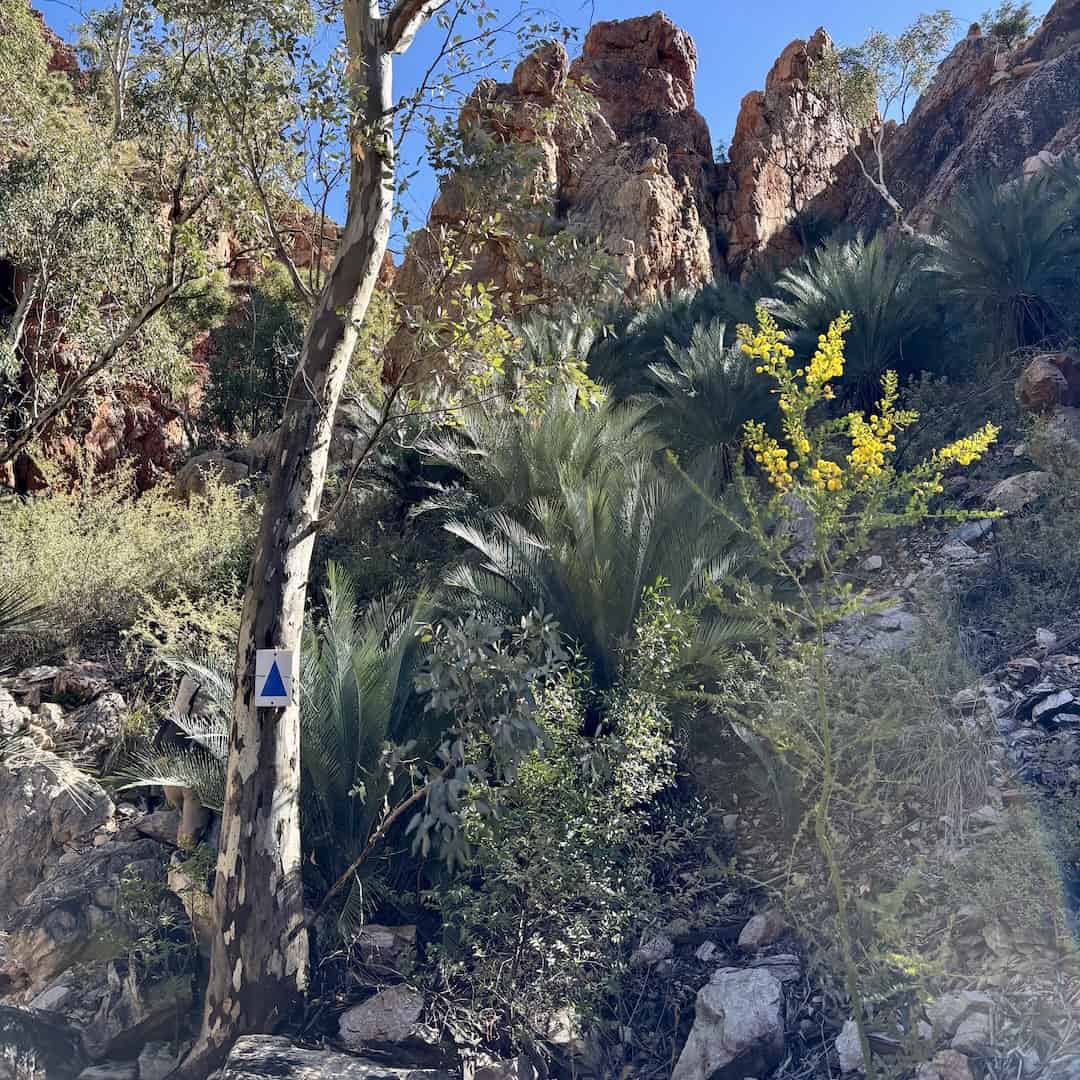
The descent to Serpentine Gorge is straightforward; you’ll come across the sign to the food drop container before the car park shelter. Don’t miss the gorge itself. Standing there you can feel why it’s sacred to the Arrente people.
Day 8 | Serpentine Gorge to Ellery Creek North 11km
Day 8’s walk was an easy one and we arrived by lunchtime. There are two options here: we took the north route but if you have a food drop to pick up, then take the southern one. You should have time for a swim in Ellery Creek Big Hole, but beware the water temperature. To try to swim across would risk hypothermia.
Day 9 | Ellery Creek North to Ghost Gum Flat 21km
Day 9 was hard to love: a slog through undulating country between two ranges. We picked up enough water at Rocky Gully campsite for that night’s camp.
Ghost Gum Flat is full of birds and shaded by the few large trees in this area. It’s a much nicer place than Hugh Gorge shelter.
Day 10 | Ghost Gum Flat to Hugh Junction 11km
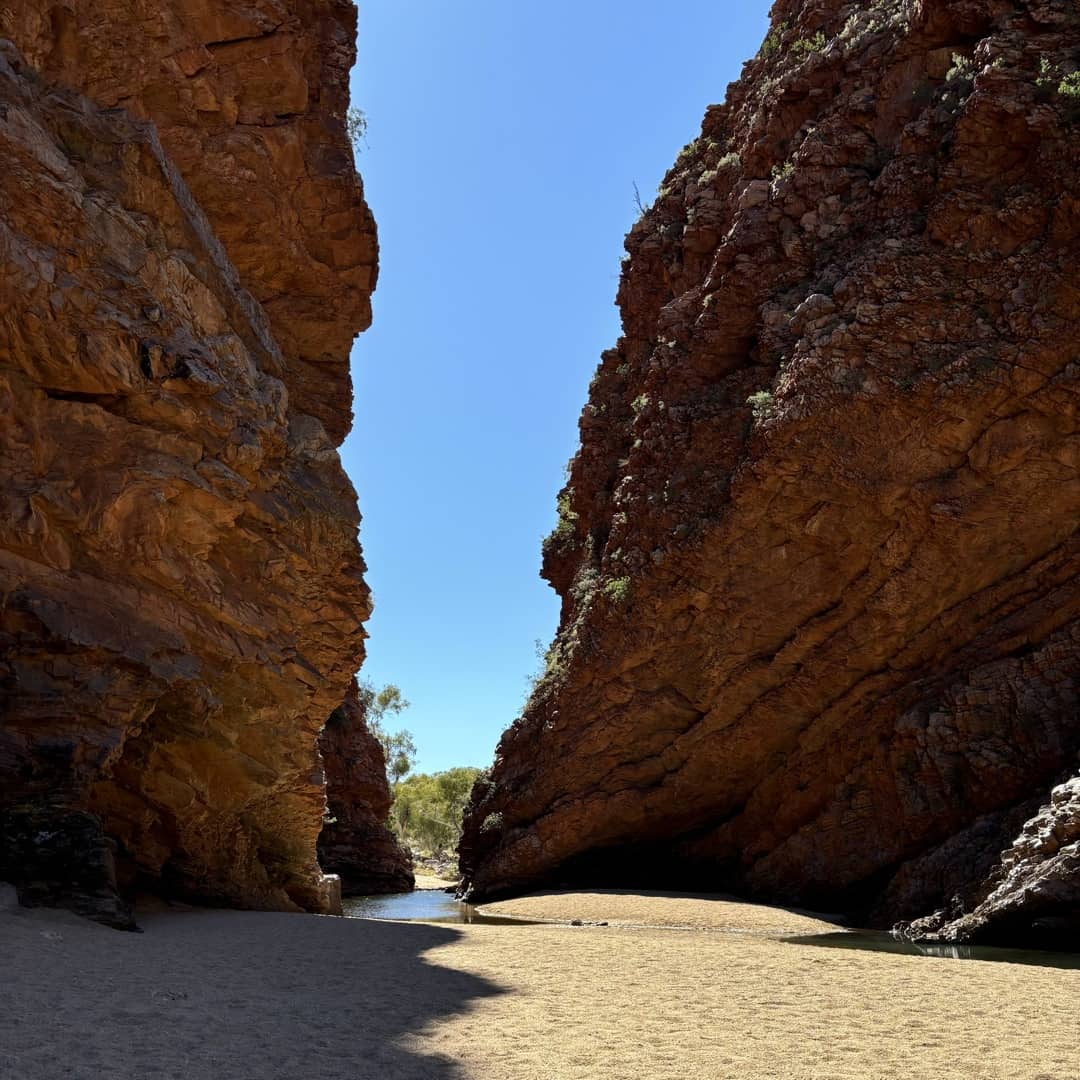
The walk into Hugh Gorge is easy, then you pick your way around rockpools and over stones and logs up the gorge. It’s quite entertaining until you arrive at the famous obstacle.
At this section of the trail everyone has to get wet. It causes a lot of worry but it’s not too bad. You need to get up on the rock to the left in the picture.
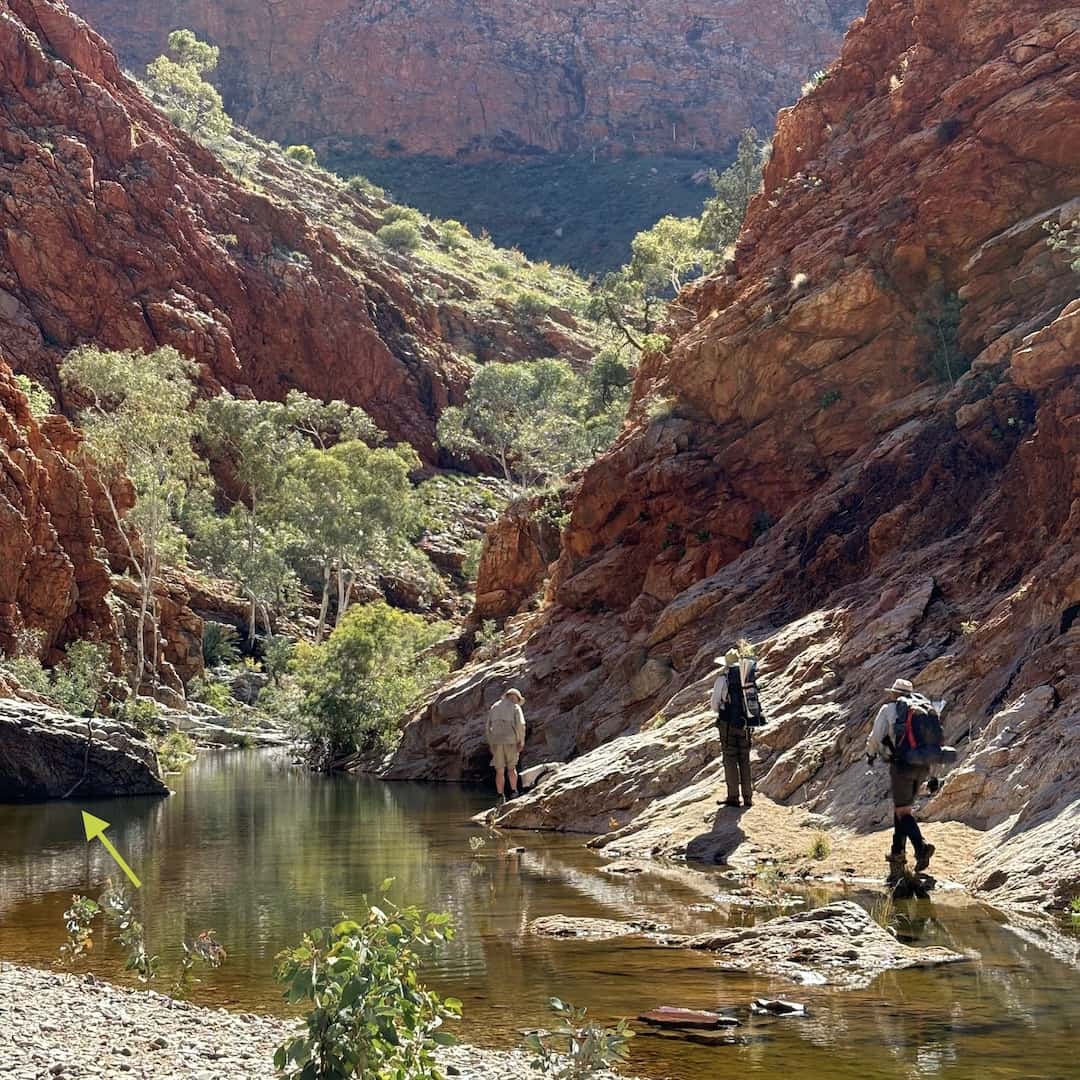
With 2 people the easiest way is to drop your pack and wade along the left under the cliff where it’s normally only knee deep right up to the rock. It gets rapidly deeper as you go out around it so you’ll have 2 options:
- Climb up the rock if you can (there was a helpful stick leaning here for us)
- Swim a few metres around to where you can clamber onto the rock
Then your companion can pass up the packs and you can help them up.
On your own it may be worth doing this section with other walkers or waiting here for someone to come. Some people have hooked their packs on the stick, then swum around and pulled the pack up from above. If your gear is watertight you can float your pack around.
Going in the opposite direction, you can do any of these in reverse.
Hugh Junction campsite is in the creek bed less than a kilometre further on.
Day 11 | Hugh Junction to Birthday Junction (Section 4/5) 12km
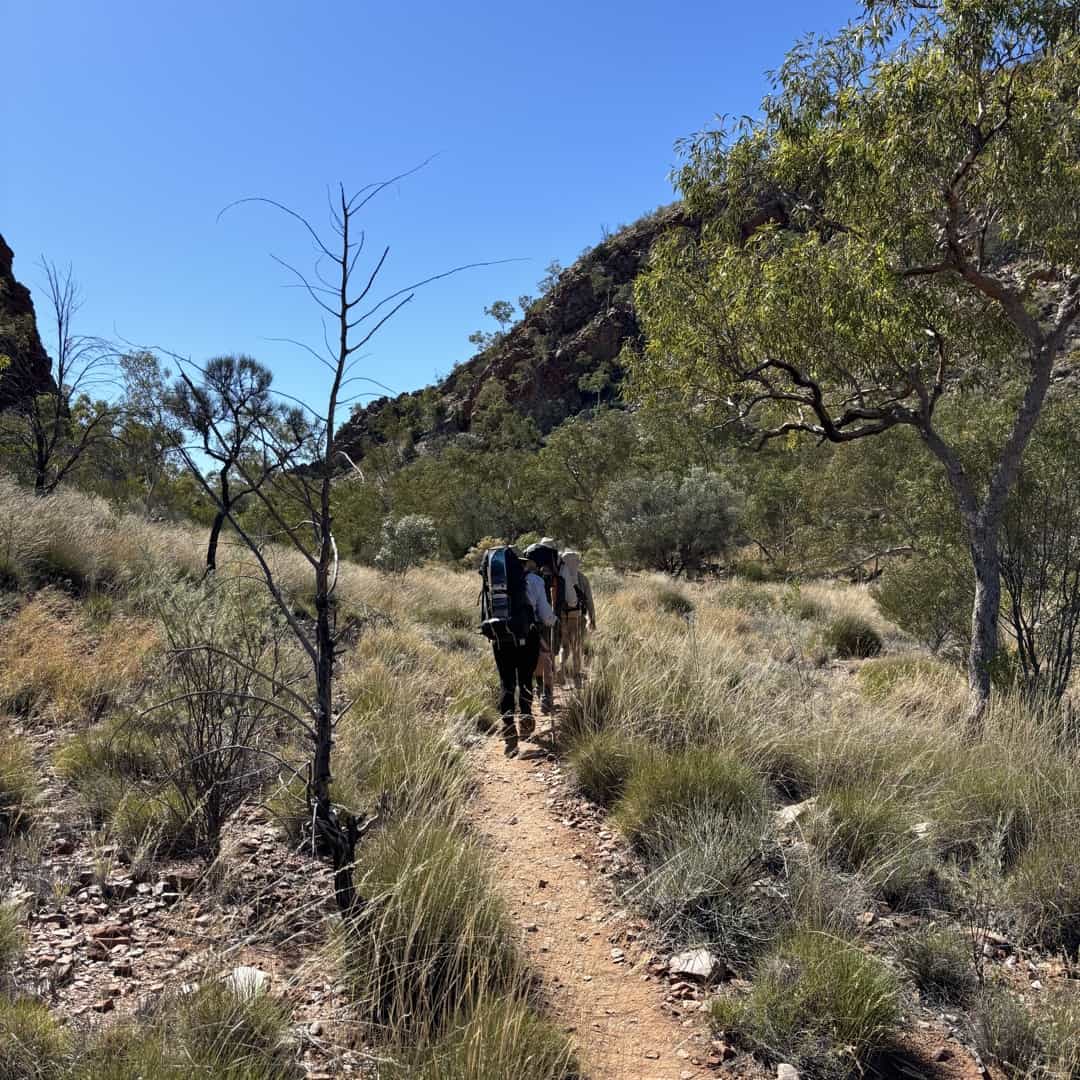
The section between Hugh and Birthday Waterhole Junctions was the toughest terrain yet seen on the trail. It wasn’t just the steep climb at the start that was difficult, it was navigating down a rocky gorge where every step needed to be taken with care. Other people commented on how beautiful it was.

Camp was the busiest we’d yet seen, probably because a lot of people walk the trail strictly in sections and this is the division between two.
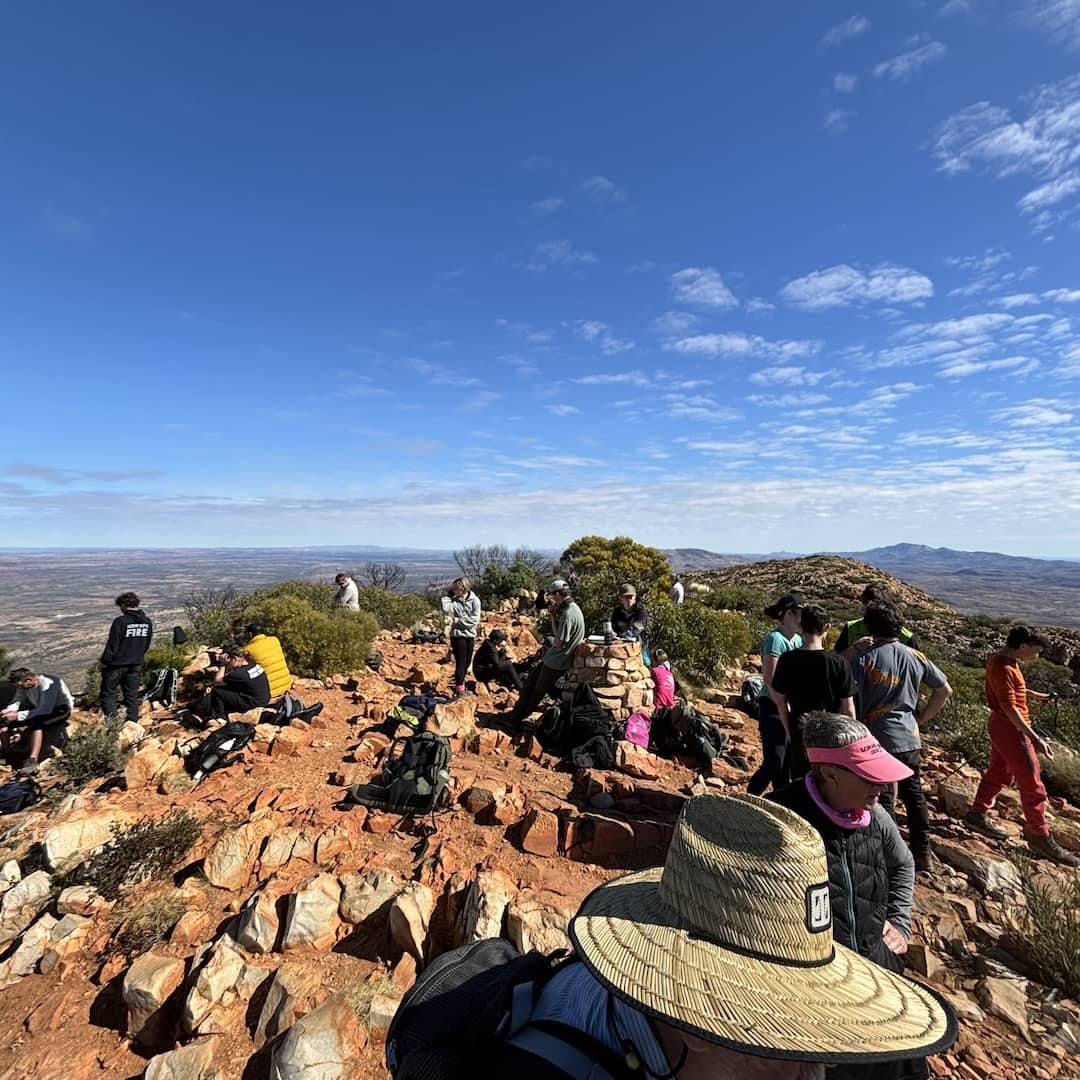
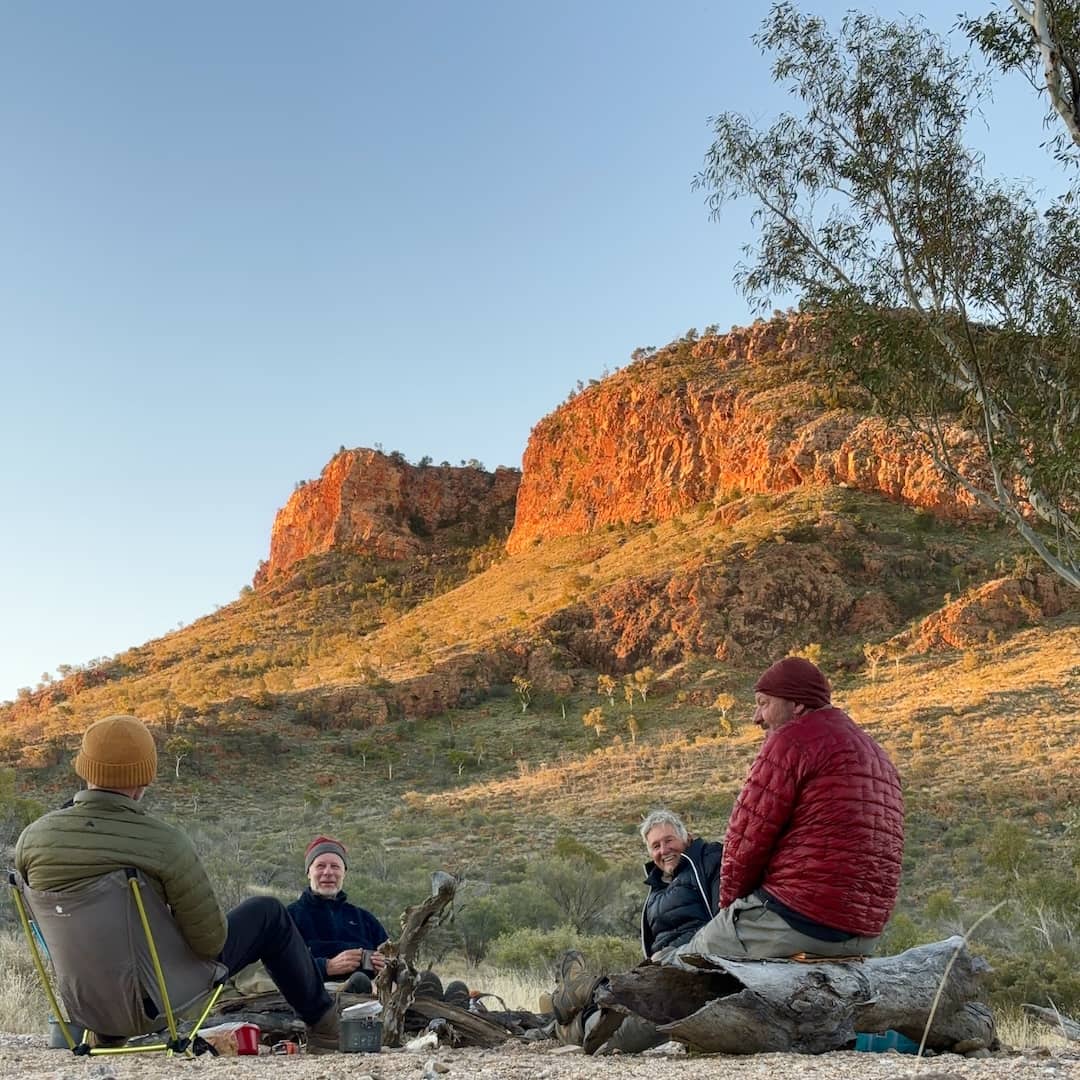
Day 12 | Birthday Junction campsite to Brinkley Bluff 7.6km
Today ‘all we did’ was to climb 500 vertical metres in order to camp on Brinkley Bluff. We spent a relaxing afternoon soaking up the views. Then like theatre goers we lined up in our camp chairs for the sunset. It was a beautiful still night with not a breath of wind.

Day 13 | Brinkley Bluff to Standley Chasm 10km
Another stupendous early morning sunrise to which no photos could do justice.
Today hearts and minds were lightened by the prospect of cafe meals at Standley Chasm (open 8-5, last orders 4pm, good cooked food). It’s amazing how quickly you crave the food you can’t have.
The walk down was beautiful and the views stunning. The rest of the day was spent in an ultimately failed wrestle with our consciences over the amount of food we were ordering.
Day 14 | Standley Chasm to Jay Creek Campsite 15km
The gluttony continued the next morning as, like the good hobbits we are, we had two breakfasts before leaving. Then it was back to business as we crossed the range.
Here we were given two options: the high road or the low road. For those doing the trail in the future, the high road was no different to conditions elsewhere with a rocky scramble up a gorge then a well-formed ridge trail with great views.
After regrouping and passing through Fish Hole (sacred site of Euro ancestor spirit stories) we camped at the shelter on the other side.
Day 15 | Jay Creek Campsite to Arenge Bluff 15km
This was a pleasant but unremarkable day of walking. Mulga camp is a few hundred metres from the Rocky Creek crossing and made a good lunch stop complete with picnic table, water and toilet.
Camping beneath Arenge bluff was another highlight for us. Trevor climbed it, of course!
Day 16 | Arenge Bluff to Wallaby Gap 22km
The last two days passed quickly. Simpson’s Gap was nice but busy being so close to Alice. Do walk in to the gap for a break rather than staying at the bleak shelter. The walk from there to Wallaby Gap was extremely picturesque and those that went up the gorge saw lots of wallabies too.
We camped in sight of the telecommunications towers over Heavitree Gap and the lights of Alice.
Day 17 | Wallaby Gap to Alice Springs Telegraph Station 14km
The final day’s walk was surprisingly interesting as it follows a ridgeline with excellent views. Then the trail crosses the railway and Stuart Highway and finishes with an exposed stretch to the Telegraph Station. Here you can refresh at the cafe before taking the 3 km river path to the town centre.

And you’re done. Now you might like to read a quick guide to preparing for the Larapinta Trail.
* There appeared to be two main companies in 2024: Larapinta Express and Larapinta Trail Trek Support.
Next read: Butterfly or Moth!
Great to see – ta. I have done it twice, each time with one of my 15 yo sons. Still to do Mt Giles tho’!